Best Chicken Stir Fry – Better Than Takeout in 25 Minutes
The first chicken stir fry I made at home tasted nothing like what I ordered from our local Chinese restaurant. The chicken was chewy, the vegetables were either raw or soggy, and the sauce was thin and watery. I figured the difference was the restaurant equipment a proper commercial wok running at temperatures a home stove could never reach.
That explanation turned out to be mostly wrong. The real difference was technique, not equipment. Once I learned two things how to velvet chicken and how to manage vegetable timing my chicken stir fry started coming out better than most of what I had been ordering. Not similar. Actually better, because I could control the salt, the sweetness, and the heat in ways a takeout order never can.
I make this at least once a week now. It costs a fraction of delivery and takes less time than waiting for the order to arrive.
What I Figured Out After Testing This a Lot
The chicken in restaurant stir fry is different from home stir fry chicken for one specific reason: velveting. It is a Chinese cooking technique that sounds technical but takes about ten minutes and requires ingredients you probably already have.
Velveting works by coating raw chicken pieces in a mixture of cornstarch, egg white, and a small amount of baking soda, then letting it sit for fifteen to thirty minutes before cooking. The cornstarch and egg white create a protective barrier around each piece that seals in moisture during the high-heat cook. The baking soda raises the pH of the chicken surface, which inhibits protein cross-linking the technical way of saying it prevents the muscle fibers from seizing up and becoming chewy when they hit the hot pan. The result is chicken that stays silky and tender even after two to three minutes of high heat stir frying.
Without velveting, chicken breast pieces hit a hot pan, the proteins contract immediately and force moisture out, and you end up with chewy pieces by the time they are cooked through. This is the single biggest difference between home chicken stir fry and restaurant chicken stir fry, and almost no home recipe explains it clearly.
The second thing I figured out was sauce timing and cornstarch behavior. Cornstarch in the sauce is what creates the glossy, thick coating that clings to every piece of chicken and vegetable. But cornstarch needs to reach a specific temperature to activate – around 203F – and it needs to do so quickly so it thickens the sauce before the vegetables have cooked past crisp-tender into soft. This is why the sauce goes in last, over high heat, with constant tossing. Thirty seconds at the right temperature and the sauce transforms from thin liquid into glossy coating.
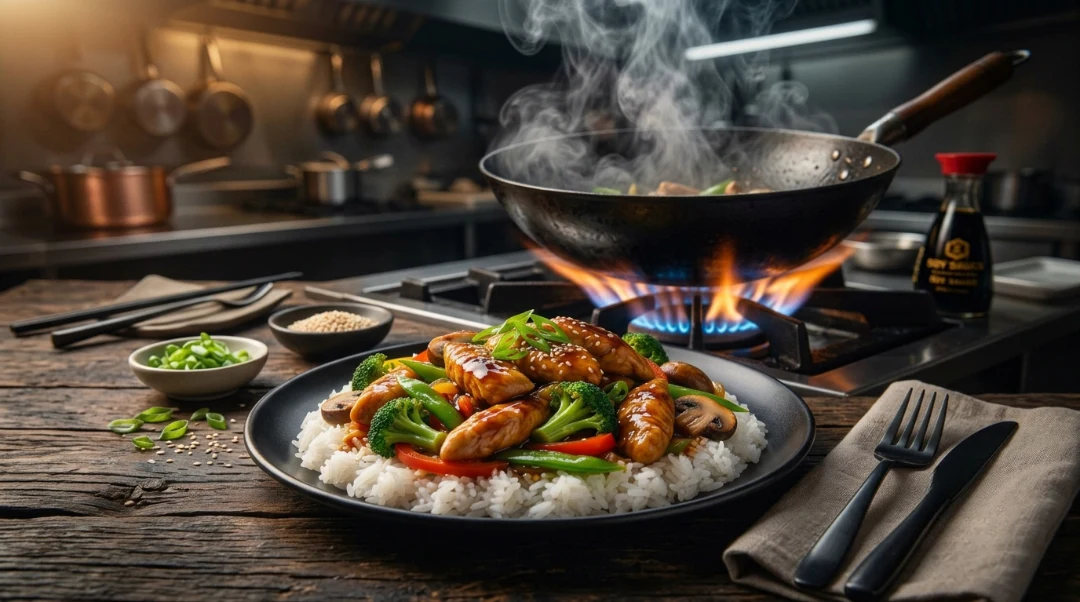
And wok hei the slightly smoky, charred flavor that great restaurant stir fry has is achievable at home without a commercial wok. The key is a very hot pan, very dry ingredients, and not crowding. When wet vegetables go into a hot pan, they drop the temperature and the pan steams instead of sears. Dry vegetables in a very hot pan with space between them char slightly at the edges, and that char is wok hei in a home kitchen.
Before You Start Cooking
This is the recipe where mise en place having every ingredient prepped and ready before anything goes in the pan – matters most. Chicken stir fry moves fast once the heat is on. From the moment the chicken goes in to the moment the dish is done is about eight minutes. There is no time to chop a vegetable or measure a sauce ingredient mid-cook.
Prep everything first. Chicken sliced and velveting in a bowl. Sauce whisked and sitting next to the stove. Vegetables washed, dried, and cut into similar sizes so they cook at the same rate. Garlic and ginger minced. Rice already cooked or at least cooking. Once all of that is in place, the actual cooking is fast and almost effortless.
Slice the chicken against the grain and thin about a quarter inch. Against the grain shortens the muscle fibers and makes each piece easier to chew. Thin slices cook through in two minutes without drying out.
The vegetables need to be completely dry before they go into the pan. Even a small amount of surface moisture creates steam when it hits the hot oil, which drops the pan temperature and prevents any browning. Spin them in a salad spinner or pat with paper towels after washing.
Avocado oil or peanut oil work best for chicken stir fry because both have high smoke points above 450F. At the temperatures needed for proper wok style cooking, olive oil smokes and develops an acrid flavor before the pan is hot enough.
What Can Go Wrong With Chicken Stir Fry
Chewy chicken: velveting was skipped, or the chicken was sliced too thick. Slice thin against the grain and always velvet even ten minutes in the cornstarch mixture makes a noticeable difference.
Soggy vegetables: the pan was not hot enough, the vegetables were not dry, or too many went in at once. Work in smaller batches if needed. The pan should be very hot before anything goes in.
Thin, watery sauce: either not enough cornstarch, or the sauce did not get hot enough to activate the starch. Make sure the sauce bubbles actively for at least thirty seconds after adding. If it is still thin, mix an extra half teaspoon of cornstarch with a teaspoon of cold water and stir it in.
Burnt garlic: garlic went in too early before the vegetables. In chicken stir fry, garlic and ginger go in for thirty seconds right before the sauce not at the start of cooking when the pan is at its hottest.
Everything tastes flat: sauce was not tasted and adjusted before serving, or soy sauce was under-measured. Always taste the sauce before it goes in and adjust with a small amount of soy sauce for salt, honey for sweetness, or rice vinegar for brightness.
Four Chicken Stir Fry Versions Worth Trying
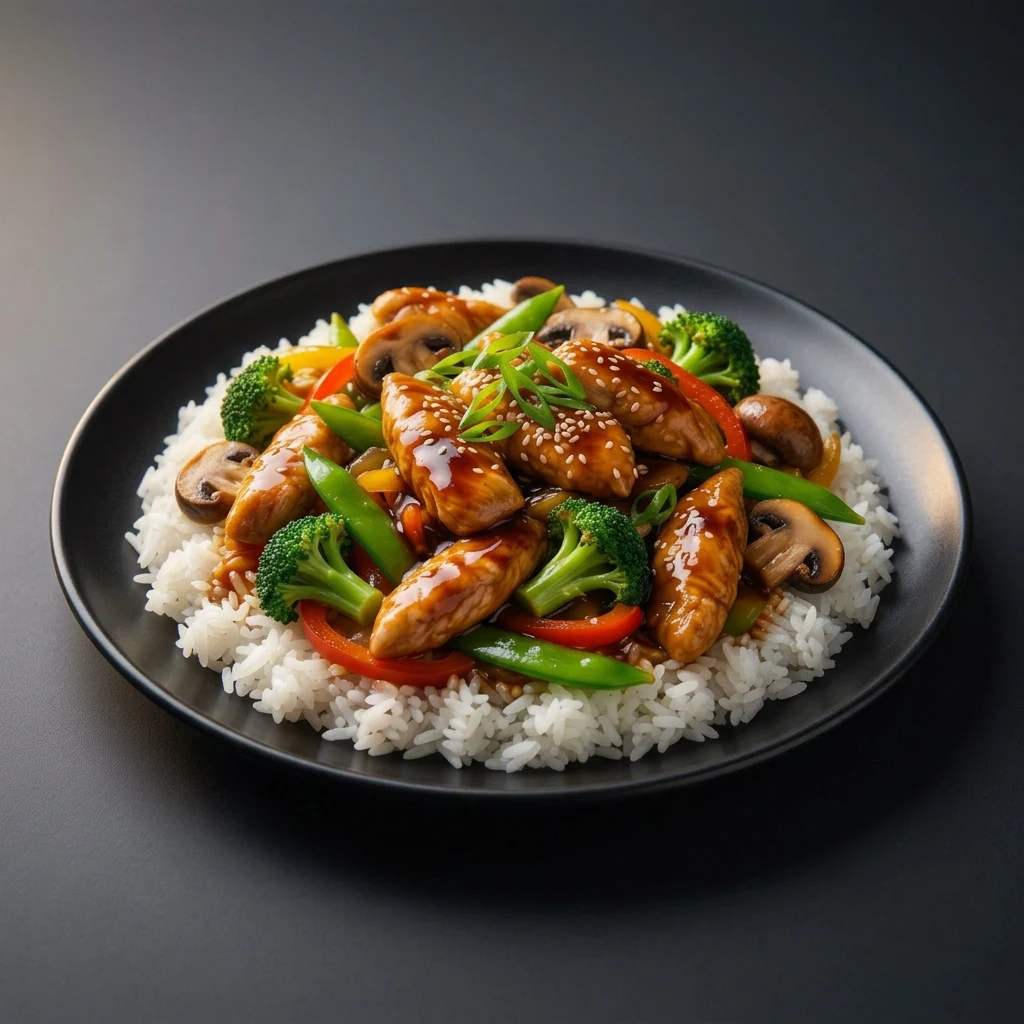
Classic takeout style: The base recipe as written broccoli, bell peppers, snap peas, and a sweet-savory ginger soy sauce. This is the version most people recognize and the one I make most often.
Spicy Szechuan chicken stir fry: Add one tablespoon of Szechuan peppercorns (toasted and crushed) and two teaspoons of chili bean paste to the sauce. The peppercorns produce a numbing heat sensation that is different from standard chili heat. Serve over plain jasmine rice to balance the intensity.
Cashew chicken stir fry: Add half a cup of roasted cashews in the last thirty seconds of cooking. The cashews absorb some of the sauce and add crunch and richness that makes the dish feel more substantial.
Teriyaki chicken stir fry: Replace the soy ginger sauce with a mix of three tablespoons soy sauce, two tablespoons mirin, one tablespoon honey, and half a teaspoon of sesame oil. Simpler, sweeter, and works especially well with broccoli and edamame.
Pairing Suggestions
Chicken stir fry is a complete meal on its own but the right base underneath makes a significant difference to how the dish eats.
Steamed jasmine rice is the classic choice. The neutral, slightly floral flavor of jasmine rice absorbs the sauce without competing with the ginger and garlic. Cook the rice first starting it before you prep the vegetables means everything is ready at the same time.
Lo mein noodles tossed directly in the pan with the finished stir fry and a splash of pasta water turns this into a noodle dish in thirty seconds. The starch from the pasta water helps the sauce cling to the noodles.
Brown rice works if you want more fiber just be aware it takes about forty minutes to cook, so plan accordingly.
For a low-carb version, cauliflower rice or thinly sliced cabbage underneath the chicken stir fry absorbs the sauce in the same way without the carbohydrate load.
Serve alongside Honey Garlic Chicken when feeding a group that wants variety the two dishes share similar flavor profiles but completely different textures. Or use Best Chicken Marinade on the chicken instead of velveting if you want a different flavor base.
If You Have Leftovers
Chicken stir fry keeps in the fridge for up to three days in an airtight container. The vegetables soften slightly overnight but the flavor of the sauce actually deepens, which makes day-two leftovers genuinely good.
Reheat in a hot skillet over medium-high heat for two to three minutes with a splash of water or chicken stock. The water loosens the sauce which will have thickened in the fridge. Do not use the microwave for reheating chicken stir fry the vegetables go completely soft and the chicken becomes rubbery.
Not ideal for freezing. The vegetables break down during freezing and thaw with a completely different texture. If you want to freeze, separate the chicken and sauce from the vegetables before freezing and add fresh vegetables when reheating.
Chicken Stir Fry
Ingredients
Equipment
Method
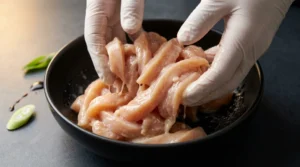
- Velvet the chicken Slice chicken breast thin against the grain about quarter inch thick. In a bowl, combine cornstarch, egg white, baking soda, and one tablespoon soy sauce. Add chicken and toss until every piece is evenly coated. Set aside for 15 to 30 minutes. Do not skip this step – it is what gives chicken stir fry its silky restaurant texture.
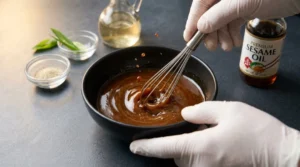
- Make the sauce Whisk together soy sauce, oyster sauce, honey, rice vinegar, sesame oil, cornstarch, and white pepper in a small bowl until smooth and the cornstarch is fully dissolved. Taste and adjust more honey for sweetness, more soy sauce for saltiness. Set next to the stove.
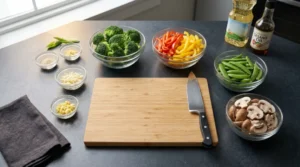
- Prep all vegetables Wash and completely dry all vegetables. Cut broccoli into bite sized florets, slice bell pepper thin, remove strings from snap peas, slice mushrooms. Mince garlic and grate ginger. Everything must be ready before cooking starts chicken stir fry moves too fast to prep mid-cook.
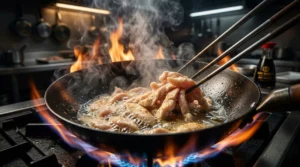
- Cook the chicken Heat one tablespoon of avocado oil in a large skillet or wok over high heat until shimmering and almost smoking. Add velveted chicken in a single layer do not crowd. Cook undisturbed for 90 seconds until white on the bottom, then toss for another 60 seconds until just cooked through. Remove to a clean plate.
- Stir fry the vegetables Add remaining tablespoon of avocado oil to the same pan over high heat. Add broccoli and mushrooms first they need more time. Toss constantly for 2 minutes. Add bell pepper and snap peas. Toss for another 90 seconds. Vegetables should be crisp tender with slight char at the edges.
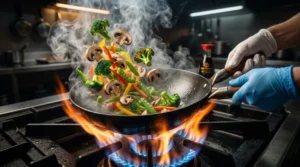
- Add garlic and ginger Push vegetables to the side of the pan. Add garlic and ginger to the center. Toss for 30 seconds until fragrant. Do not let them sit still or they will burn.
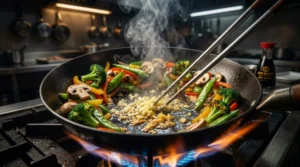
- Return chicken and add sauceReturn cooked chicken to the pan. Give the sauce a quick whisk and pour over everything. Toss constantly over high heat for 30 to 45 seconds until the sauce thickens, turns glossy, and coats every piece of chicken and vegetable.
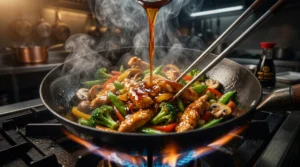
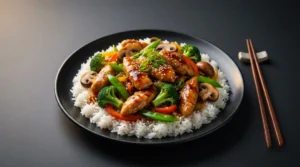
- ServeRemove from heat immediately. Transfer chicken stir fry to a serving plate or directly over steamed jasmine rice. Garnish with sliced green onions and sesame seeds. Serve immediately while sauce is at peak glossiness and vegetables are still crisp.
Notes
- Mise en place is essential: prep everything before the pan goes on. Stir fry moves too fast to prep mid-cook.
- Velvet the chicken: this single step is the biggest difference between home and restaurant chicken stir fry.
- High heat is required: medium heat produces steamed vegetables, not stir fried ones.
- Dry vegetables: surface moisture creates steam and drops pan temperature. Dry completely before cooking.
- Vegetable timing: dense vegetables (broccoli, carrots) go in first, soft ones (bell pepper, snap peas) after.
- Sauce: always taste before adding and adjust sweetness or salt.
- Storage: airtight container, fridge up to 3 days.
- Reheat: hot skillet with splash of water, 2 to 3 minutes. Not microwave.
- Freezing not recommended: vegetables break down in texture after freezing.
NUTRITION
(Per Serving – Estimated)
| Calories | 340 kcal |
| Protein | 38 g |
| Fat | 11 g |
| Saturated Fat | 2 g |
| Carbohydrates | 22 g |
| Fiber | 3 g |
| Sugar | 8 g |
| Sodium | 720 mg |
| Cholesterol | 105 mg |
Calculated using boneless skinless chicken breast with listed vegetables and sauce. Values are estimates and vary by vegetable quantities and ingredient brands. Rice not included.
One More Thing People Ask
What is the best pan for chicken stir fry at home?
A large, heavy stainless steel skillet or a flat bottomed carbon steel wok works best on a home stove. A 12-inch skillet over high heat gets hot enough for proper chicken stir fry results. Traditional round-bottom woks are designed for commercial burners – on a flat home stove they wobble and do not heat evenly. A flat-bottomed carbon steel wok or a large stainless skillet is the better choice for most home kitchens.
Does chicken stir fry need velveting?
It does not need it – but it is noticeably better with it. Velveting takes ten extra minutes and uses ingredients you likely have on hand. The texture difference in the finished chicken is significant enough that I would not skip it once you have tried it both ways.
Can I use chicken thighs instead of breasts in chicken stir fry?
Yes thighs work well and are harder to overcook than breasts. Cut them into similar quarter-inch slices and velvet in the same way. Thighs have more fat which adds richness to the dish and the slight chew of dark meat works well in stir fry. Cook for the same time two to three minutes per batch.
What vegetables work best in chicken stir fry?
Broccoli, bell peppers, snap peas, mushrooms, zucchini, and book choy all work well. The key is adding them in order of cooking time – denser vegetables like broccoli and carrots go in first, softer ones like bell pepper and snap peas go in after. Everything should finish cooking at roughly the same time and be crisp-tender, not soft. According to USDA food safety guidelines, always ensure chicken reaches 165F internal temperature regardless of cooking method.
Can I make the sauce ahead of time for chicken stir fry?
Yes the sauce keeps in the fridge for up to one week in a sealed jar. Whisk before using as the cornstarch settles. Having the sauce pre-made is one of the easiest ways to make weeknight chicken stir fry faster.
Worth Making Again
Chicken stir fry went from something I ordered to something I make because it is genuinely faster and better when you know the technique. The velveting step changed everything for me – once you see what it does to the texture of the chicken, going back to the old way is hard to imagine.
Try it this week and leave a comment below. Tell me which sauce variation you went with.