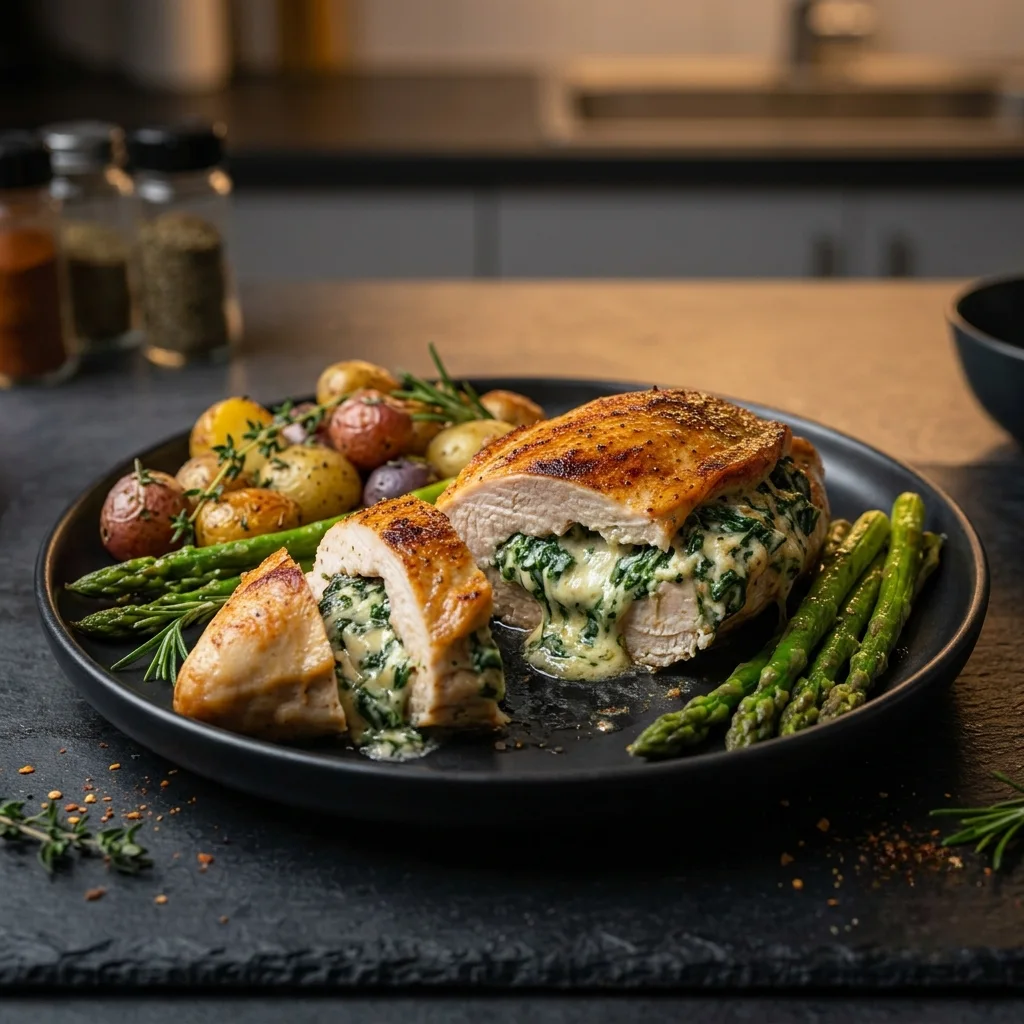
Best Stuffed Chicken Breast – Juicy, Cheesy & Ready in 35 Minutes
Stuffed chicken breast was the recipe I made the first time I cooked dinner for people I actually wanted to impress. I was nervous, had practiced it twice that week, and still somehow managed to overfill the pocket so that half the filling melted out into the pan during baking. The result was still good the chicken was juicy, the outside was golden, and the filling that stayed inside was genuinely delicious. Nobody knew it was supposed to look different.
That was four years ago. I have made stuffed chicken breast enough times now that the pocket cutting, the filling ratio, and the sear then bake method all feel automatic. The version here is what I have landed on after working through every mistake you can make overstuffed pockets, undercooked centers, filling that leaks everywhere, and chicken that looks great on the outside but is still pink at the thickest point.
It is easier than it looks. Once you make it once, you will understand why it becomes a regular in your rotation.
Something Worth Knowing Before You Start
Most stuffed chicken breast recipes tell you to cut a pocket and fill it. What they skip is the science of why the filling behaves the way it does during cooking, and why certain fillings work better than others.
Cream cheese is the best base for stuffed chicken breast filling for one specific reason: its high fat content and relatively low moisture content. When cream cheese heats up, it softens and becomes creamy but does not release significant liquid. Ricotta and cottage cheese, by comparison, contain much more water. As they heat up in the pocket, that water becomes steam and the pressure pushes the filling out of the pocket before the chicken has finished cooking. This is why so many stuffed chicken breast recipes end up with empty pockets and a puddle of filling at the bottom of the pan. Cream cheese stays inside.
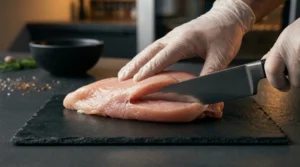
The pocket depth matters more than most recipes acknowledge. If you cut too shallow – less than two inches into the breast there is not enough room for filling and the pocket tears when you try to stuff it. Too deep and you cut through to the other side, which means the bottom of the pocket opens and the filling goes straight down. The right depth is about three quarters of the way through the breast at the thickest point, stopping before you hit the edges. Think of it as a pita pocket open at one end, sealed at the other three sides.
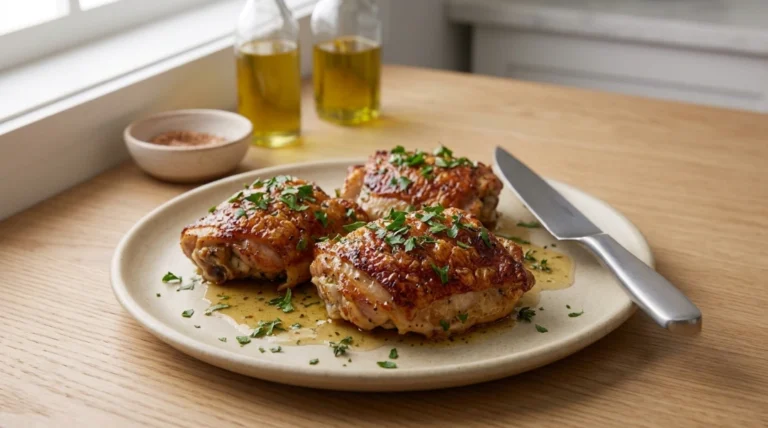
Searing before baking is the step that makes stuffed chicken breast look restaurant quality instead of home quality. The Maillard reaction creates a golden brown crust on the exterior that does not happen in the oven at the temperatures needed to safely cook the inside. Two minutes per side in a hot oven-safe cast iron skillet before it goes into the oven that is the difference between pale, soft exterior and the golden crust you see in food photos.
The last thing: toothpicks are not optional when the filling is generous. As the chicken cooks, the pocket naturally wants to open and push filling out. Three toothpicks evenly spaced along the open edge hold it closed for the first fifteen minutes of baking. By the time you pull them out for serving, the filling has set enough to stay in place on its own.
A Few Things I Would Do Differently Next Time I Started
For very large chicken breasts anything over eight ounces pound the thick end down slightly before cutting the pocket. Oversized breasts have an extreme thickness difference between the thickest and thinnest point. The thin end cooks through twenty minutes before the thick center does. A brief pound to even things out means the whole breast finishes at the same time.
Room temperature cream cheese is easier to mix and fills the pocket more evenly than cold cream cheese. Take it out of the fridge twenty minutes before you start. Cold cream cheese stays in chunks that are harder to spread inside the pocket without tearing the edges.
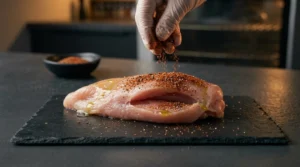
Do not skip the seasoning on the outside of the chicken. The filling is well seasoned but the exterior of the stuffed chicken breast needs its own spice blend. Every layer of this dish needs its own seasoning the filling, the exterior, and anything you serve it with.
Fresh garlic in the filling makes a noticeable difference. Garlic powder works but fresh garlic releases allicin as it heats inside the pocket, which fills the entire interior of the chicken with a more complex, sharper garlic flavor. Two cloves per four breasts is enough.
Three Stuffed Chicken Breast Variations Worth Making
Classic spinach and cheese stuffed chicken breast: The base recipe as written. Cream cheese, fresh spinach, Parmesan, mozzarella, garlic, and smoked paprika. This is the version that works for every occasion from a Tuesday dinner to a dinner party.
Sun-dried tomato and goat cheese stuffed chicken breast: Replace the spinach and mozzarella with two tablespoons of chopped sun-dried tomatoes and two tablespoons of crumbled goat cheese per breast. The tang of the goat cheese against the sweetness of the sun-dried tomatoes is a combination that sounds simple and tastes exceptional.
Broccoli and cheddar stuffed chicken breast: Mix finely chopped blanched broccoli florets with sharp cheddar and cream cheese. A small amount of Dijon mustard in the filling adds depth. This version is especially good for anyone who finds spinach too mild the cheddar and broccoli have a stronger, more assertive flavor.
Buffalo stuffed chicken breast: Mix cream cheese with two tablespoons of Frank’s RedHot sauce, shredded cheddar, and sliced green onions. Coat the exterior of the breast with a thin layer of the same hot sauce before searing. The filling gets creamy and slightly spicy as it bakes and the exterior has a faint heat that builds slowly.
What Goes Well With It
Stuffed chicken breast is a complete protein with filling built in, so the sides can be simple. The goal is something that absorbs or balances the richness of the cream cheese filling without competing with it.
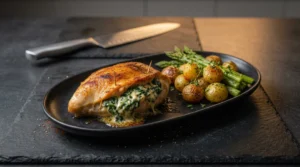
Roasted baby potatoes with olive oil and rosemary are the most natural pairing. They go in the oven at the same time as the chicken and are done at roughly the same point one oven, two dishes, zero extra timing management.
Steamed asparagus or green beans keep the plate light and the bright, slightly bitter flavor of the vegetables cuts through the richness of the cheese filling in a way that heavier sides do not.
A simple arugula salad with lemon vinaigrette and shaved Parmesan works especially well if you are serving this for guests. The peppery arugula and sharp lemon dressing echo the garlic and Parmesan in the filling and make the whole plate feel intentional.
Pair with Garlic Butter Chicken when cooking for a crowd that wants variety on the table. For a simpler preparation of the same cut, Juicy Baked Chicken Breast uses the same high-heat oven method without the filling work.
Storing and Reheating Stuffed Chicken Breast
Cooked stuffed chicken breast keeps well in the fridge for up to three days in an airtight container. The filling firms up significantly when cold this is normal. It softens back to creamy when reheated properly.
The oven method gives the best result for reheating: 325F for 12 to 15 minutes covered with foil. The foil traps steam and keeps the chicken from drying out while the filling has time to soften back to creamy without overheating. Remove the foil for the last two minutes if you want to restore some color to the exterior.
The microwave works but the cream cheese filling can get grainy and slightly separated if overheated. If you use it, heat at 50 percent power in 45-second intervals until just warm through. Covering with a damp paper towel helps retain moisture.
Stuffed chicken breast freezes reasonably well for up to two months. Freeze before or after baking both work. Thaw overnight in the fridge and reheat using the oven method above. The texture of the filling changes very slightly after freezing but is still good.
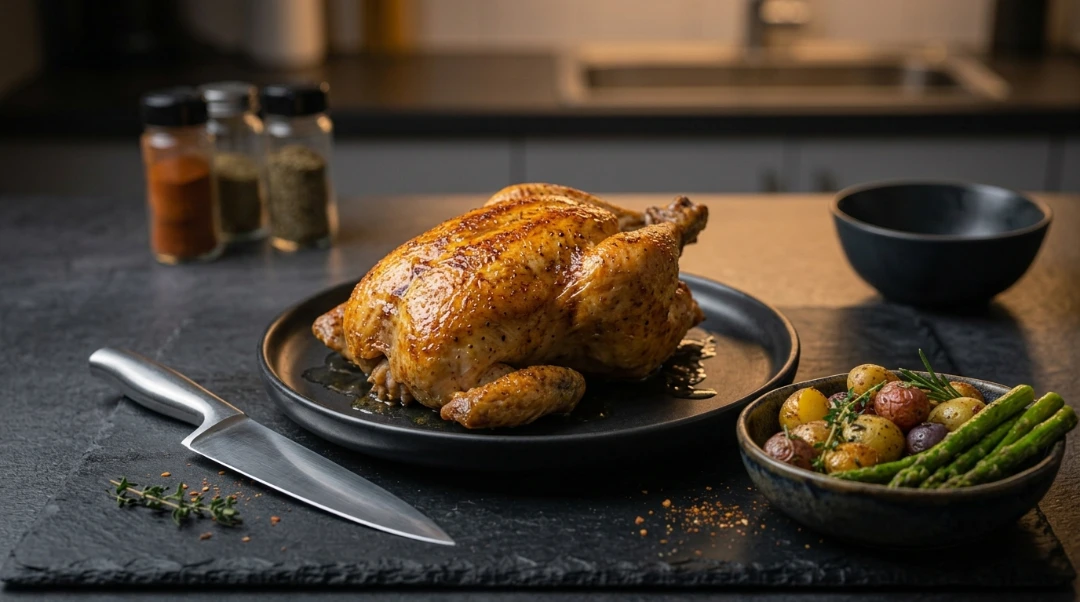
Stuffed Chicken Breast
Ingredients
Equipment
Method
- Preheat oven Preheat oven to 425F (220C). This high temperature ensures the stuffed chicken breast cooks through quickly without drying out the exterior.
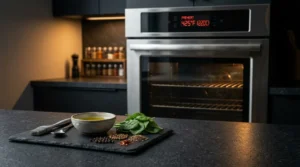
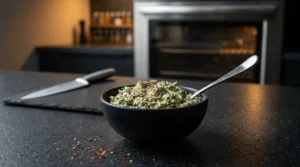
- Make the filling In a small bowl, mix softened cream cheese, chopped spinach, Parmesan, mozzarella, minced garlic, red pepper flakes, salt, and pepper until evenly combined. Taste and adjust seasoning. Set aside at room temperature.
- Cut the pocket Place chicken breast flat on a cutting board. Hold firmly with your non-dominant hand. Insert a sharp knife at the thickest point and cut a pocket three-quarters of the way through, parallel to the cutting board. Stop half an inch from the edges. The pocket should open at one end and be sealed at the other three sides.
- Season the exterior Mix salt, smoked paprika, garlic powder, black pepper, and onion powder. Drizzle avocado oil over the chicken and rub to coat. Sprinkle spice blend generously over both sides and inside the pocket.
- Fill and seal Spoon filling into each pocket about two to three tablespoons per breast. Do not overfill past three-quarters full or the pocket will not close. Seal the open edge with two to three toothpicks spaced evenly. Some filling near the edge is fine a little at the seam helps seal it naturally.
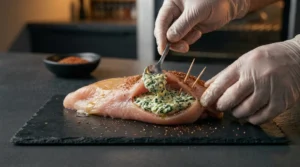
- Sear Heat avocado oil in an oven-safe cast iron skillet over medium high heat until shimmering. Place stuffed chicken breast seam side up. Sear for 2 minutes until golden on the bottom. Flip carefully and sear the other side for 2 minutes. The exterior should be golden before going into the oven.
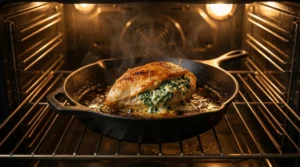
- Bake Transfer the skillet directly to the preheated oven. Bake at 425F for 16 to 20 minutes depending on breast size. At 16 minutes, check the internal temperature at the thickest point of the meat away from the filling.
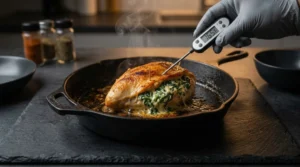
- Rest and serve Remove when the thickest part of the stuffed chicken breast reads 165F. Rest for 5 minutes before removing toothpicks and serving. The filling will be extremely hot let it cool for a minute before cutting. Serve with roasted potatoes or steamed vegetables alongside.
Notes
- Cream cheese base is essential: ricotta or cottage cheese contains too much water and pushes filling out during baking.
- Room temperature cream cheese: cold cream cheese is harder to mix and tears the pocket when filling.
- Pocket depth: three-quarters through the thickest part, stopping half an inch from edges. Open at one end, sealed at three sides.
- Do not overfill: three quarters full maximum. Overfilled pockets burst during cooking.
- Toothpicks: 2 to 3 per breast, evenly spaced along the seam. Remove before serving.
- Large breasts (over 9 oz): add 3 to 5 extra minutes of bake time and check temperature carefully.
- Make ahead: stuff and refrigerate up to 24 hours before cooking. Bring to near room temperature before searing.
- Storage: airtight container, fridge up to 3 days.
- Reheat: oven at 325F for 12 to 15 minutes covered with foil.
- Freeze: up to 2 months. Thaw overnight in fridge, reheat in oven covered.
NUTRITION
(Per Serving – Estimated)
| Calories | 420 kcal |
| Protein | 44 g |
| Fat | 22 g |
| Saturated Fat | 10 g |
| Carbohydrates | 4 g |
| Fiber | 0 g |
| Sugar | 1 g |
| Sodium | 680 mg |
| Cholesterol | 155 mg |
Calculated using 7 oz boneless skinless chicken breast with listed filling ingredients. Values are estimates and vary by breast size and specific ingredient brands.
A Couple More Things
How do I cut the pocket in stuffed chicken breast without cutting through?
Place the breast flat on a cutting board with your non-dominant hand pressed firmly on top. Insert a sharp knife at the thickest point the center of the thick end. Cut parallel to the cutting board, moving the knife in and out in a sweeping motion rather than sawing. Stop when you are about three quarters of the way through the breast and about half an inch from the edges. The goal is a pocket open at one end and sealed at the other three sides. A sharp chef’s knife makes this significantly easier than a dull one.
Why does my filling leak out during baking?
Usually one of two things: the filling contained too much moisture (ricotta, fresh mozzarella with high water content, or too much liquid added), or the pocket was overfilled and the seam pressure from the toothpicks was not enough. Use cream cheese as the base, do not overfill past three-quarters full, and use at least three toothpicks spaced evenly along the seam. Some leakage around the edges is normal and acceptable.
What temperature should stuffed chicken breast reach?
The stuffed chicken breast is safe when the thickest part of the meat (not the filling) reaches 165F as measured with an instant read thermometer. Check away from the filling the filling conducts heat differently than the meat. The USDA minimum safe temperature for all poultry is 165F. With large breasts, check two spots.
Can I make stuffed chicken breast ahead of time?
Yes cut the pockets, make the filling, stuff and toothpick the breasts, and refrigerate for up to 24 hours before cooking. Bring them closer to room temperature for fifteen minutes before searing. This makes them ideal for dinner parties all the prep done earlier in the day, just sear and bake when ready to serve.
Can I cook stuffed chicken breast in an air fryer?
Yes 375F for 22 to 25 minutes. The air fryer circulates heat well and produces a slightly crisped exterior without the extra searing step. Check temperature at 20 minutes. The filling may bubble slightly at the edges which is fine it does not affect the final result.
If You Try It
Stuffed chicken breast looks like it requires more skill than it does. Once the pocket technique clicks which it does after one or two attempts the rest is just filling and timing. A recipe that looks impressive and actually is not difficult is one of the most useful things you can have in regular rotation.
Leave a comment below and tell me which filling variation you went with.